Installed performance is what matters. The polyiso insulation vs XPS comparison depends on temperature exposure, moisture conditions, facer selection, and interface requirements.

Rigid insulation is manufactured as solid boards or panels rather than flexible batts or loose fill. It’s specified when wall assemblies need a stable insulation layer that maintains consistent thickness. That placement changes how a wall controls heat flow, how seams are sealed at joints and transitions, and how the assembly performs over time.
Heat moves through walls primarily by conduction, with framing members creating direct paths for energy loss.
When installed as continuous insulation, rigid insulation spans across studs, plates, and headers, reducing heat flow through those structural elements.
This directly addresses thermal bridging that cavity insulation alone cannot fully control.
Because the boards are manufactured with uniform density, thermal resistance stays consistent across the insulated surface.
Sealed seams and well-detailed transitions can also support air-control strategies, depending on how the wall assembly is designed.
The result is a wall that performs as a system rather than a collection of isolated insulated cavities, even when rigid insulation is only one layer in the assembly.
Boards are often paired with cavity insulation. In those assemblies, cavity insulation fills framing bays while the exterior board layer manages bridging and stabilizes surface temperatures across the wall plane.
Rigid foam board insulation is commonly specified in three material categories: EPS, XPS, and polyisocyanurate. Each behaves differently with moisture exposure, compressive loading, and thermal performance.
Expanded polystyrene (EPS) offers stable long-term R-value and some vapor permeability, which can support drying in certain wall assemblies.
Extruded polystyrene (XPS) is typically selected where higher compressive strength and lower water absorption are priorities.
Polyisocyanurate (polyiso) provides higher R-value per inch and is frequently used in above-grade wall systems where space efficiency matters.
Facers and surface textures influence how tapes, sealants, and coatings bond to the board, and those differences affect vapor behavior, attachment detailing, and integration with air and water control layers.

Rigid board insulation appears throughout residential construction, but wall assemblies are one of its most common applications.
In walls, boards may be installed:
on the interior side
the exterior side
or as part of a layered system combined with cavity insulation
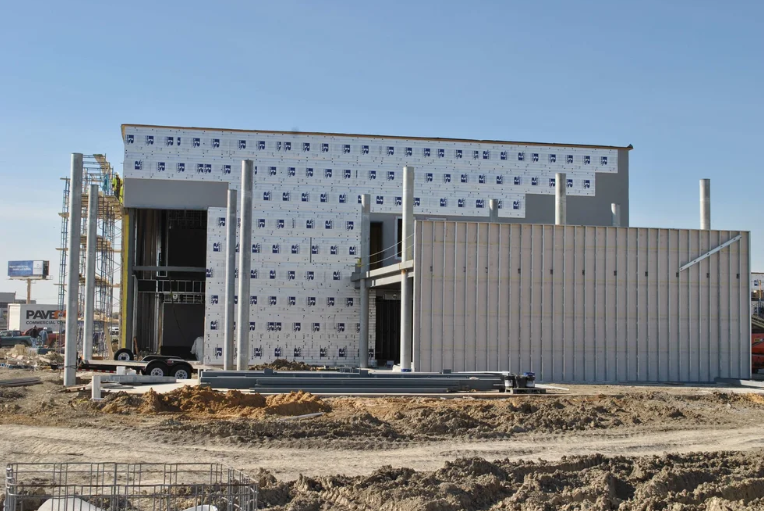
Exterior wall applications rely on board products to create continuous insulation over framing.
Interior uses are common in:
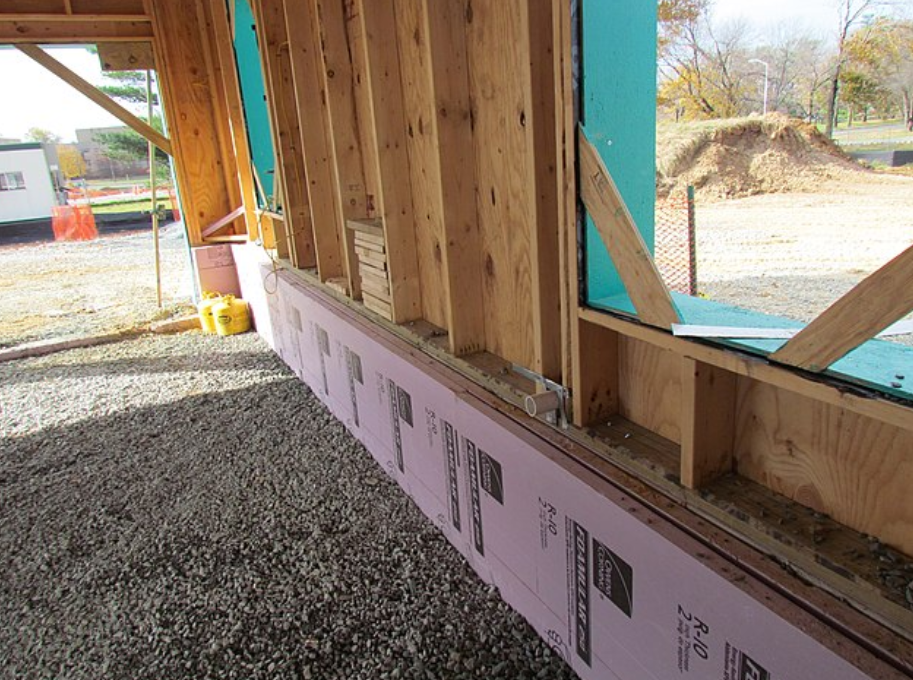
basements
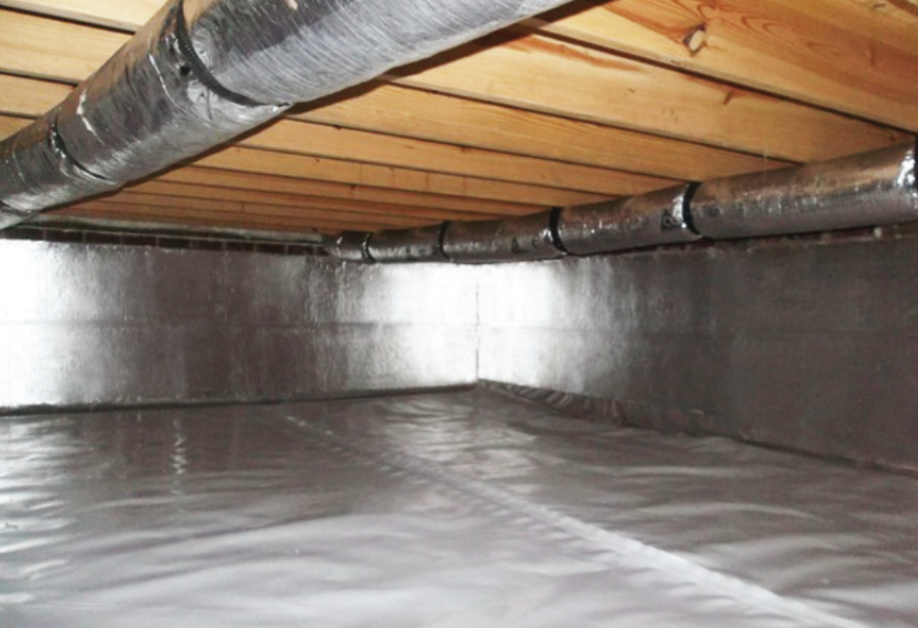
crawl spaces
utility areas where masonry or concrete substrates call for a durable, stable insulation layer
Rigid board insulation is also used in roof assemblies and foundation systems, where maintaining shape under load supports long-term performance.
Across all of these uses, the value comes from consistency. A rigid layer stays in plane and maintains coverage where flexible materials may shift or compress.
Rigid foam insulation installation follows different paths depending on whether the wall is insulated from the interior or the exterior. Interior installations focus on fit, fastening, and continuity against the substrate, while exterior installations center on sequencing over sheathing and integration with cladding.
Prepare The Substrate
Masonry, concrete, or framed wall surfaces should be clean, flat, and suitable for mechanical fastening or adhesive attachment based on the planned interior finish.
Cut Boards To Fit Tightly
Rigid foam boards are cut to fit snugly around framing members, penetrations, and transitions so gaps do not form at edges or corners.
Secure Boards In Place
Boards are fastened mechanically or adhered using products compatible with the board facer and substrate, keeping the insulation flat and in plane.
Seal Seams And Transitions
Joints, edges, and transitions are sealed where the wall design calls for air-control continuity, using tapes or sealants matched to the insulation surface.
Interior rigid insulation typically functions as one layer within a larger wall system that includes cavity insulation, interior finishes, and a vapor-control strategy appropriate to the climate and assembly.
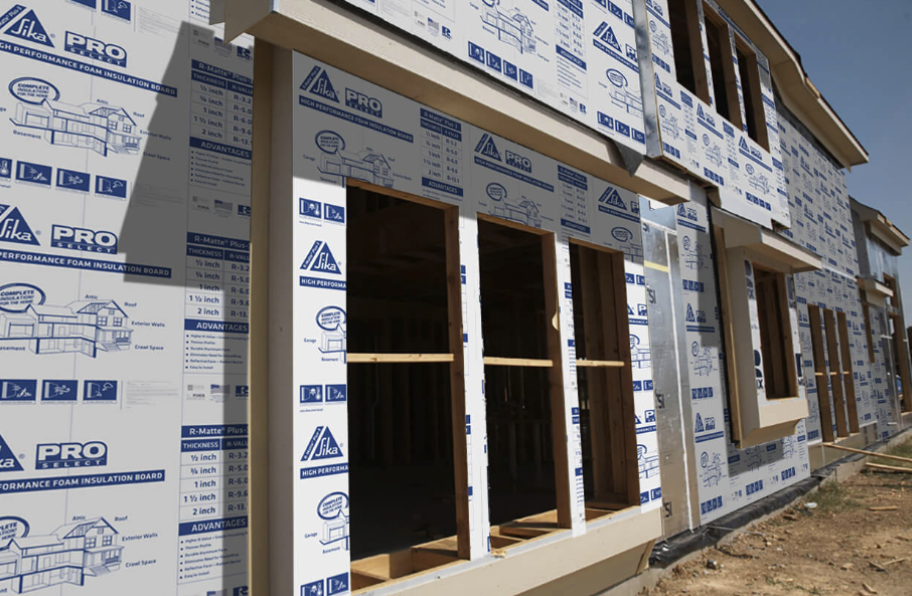
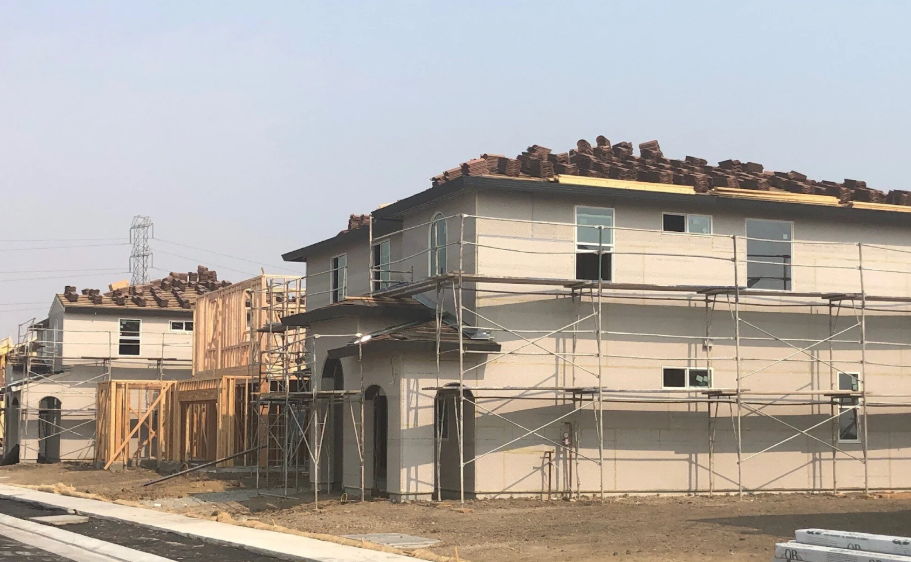
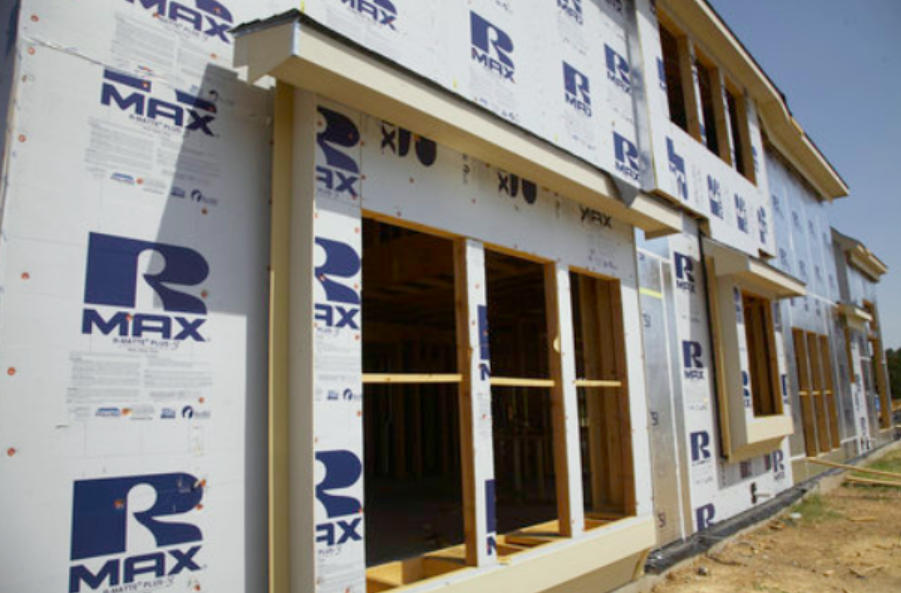
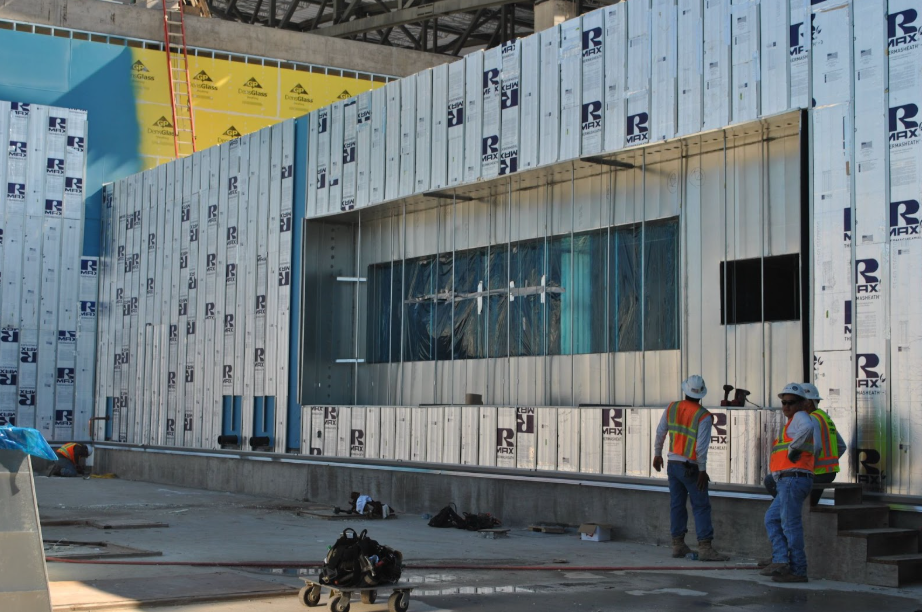
Exterior wall installation places rigid boards over structural sheathing before cladding is applied, creating a continuous insulation layer across framing.
Install Boards Over Sheathing
Rigid boards are installed directly over wall sheathing, spanning studs and rim areas to reduce thermal bridging.
Stagger Board Layout
Boards are arranged so vertical seams do not align, which improves continuity and limits potential air-leakage paths.
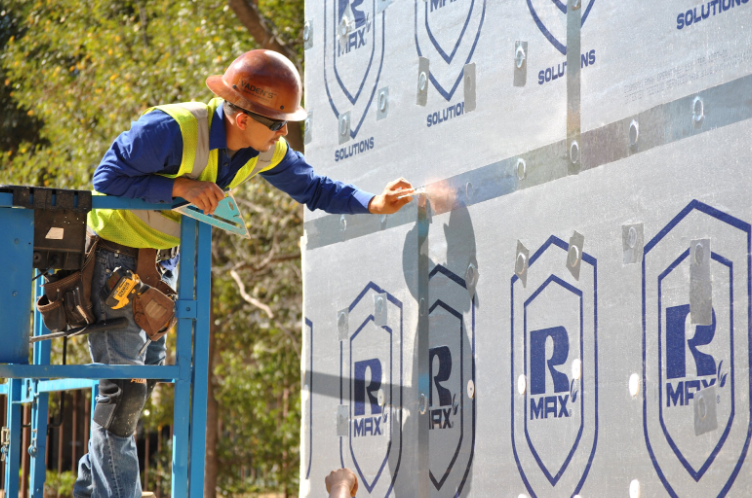
Seal Joints And Openings
Seams between boards and transitions at windows, doors, and penetrations are sealed to maintain air-control performance.
Attach Cladding Support System
Furring strips or engineered fastening systems are installed as required to support siding or other exterior finishes while accounting for insulation thickness.
Finish With Exterior Cladding
Cladding is installed over the attachment system, completing the wall assembly while maintaining drainage and drying paths.
Most rigid wall insulation work comes down to clean cuts, secure attachment, and reliable sealing. The tool list is straightforward, but compatibility matters.
Tools typically include:
Straightedge and measuring tools
Insulation knife or fine-tooth saw matched to board type
Fastening tools appropriate for wood framing or masonry
Materials typically include:
Boards selected for the wall assembly
Approved fasteners or compatible adhesives
Seam tape or sealants matched to the board facer
Air and water control components specified in the wall design
Continuity matters more than complexity. A continuous layer with tight seams performs more predictably than a loosely detailed installation, especially on exterior wall assemblies.
Wall insulation installation cost is typically driven by two components: material pricing for rigid boards and accessories and labor required to install and integrate the assembly.
For planning purposes, rigid foam insulation materials often fall in the range of about $0.50–$2.50 per square foot, depending on board type, thickness, and facer.
Installed costs are higher once labor is included. For wall applications, especially when rigid insulation is added on the exterior, total installed pricing often lands roughly between $2.00 and $6.00+ per square foot. Labor costs increase with wall height, access conditions, the number of openings that require cutting and sealing, and whether cladding must be removed and reinstalled.
Costs are usually lower when rigid insulation is incorporated during new construction, where sequencing is more straightforward. Retrofit projects generally carry higher pricing due to access limitations, added detailing, and coordination with existing finishes. Because labor rates and wall assemblies vary by region and project scope, these ranges are best used as planning benchmarks rather than exact estimates.

Rigid insulation is often the right choice when wall designs require continuous insulation to meet performance or code targets.
Rigid insulation is often the right choice when wall designs require continuous insulation to meet performance or code targets. Walls with high framing density, complex headers, or frequent structural transitions benefit most from a rigid exterior layer that maintains consistent thickness across the wall plane.
Energy-code requirements often influence this decision. Many modern wall assemblies rely on continuous insulation to meet prescriptive compliance paths, particularly at corners, rim areas, and floor transitions. In those cases, rigid insulation simplifies detailing by maintaining a consistent insulation layer across structural interruptions.
Moisture behavior is another factor. Exterior boards can help keep interior wall layers warmer in cold weather, which changes condensation risk inside the cavity. That outcome relies on correct thickness, placement, and integration with air and water control layers.
Rmax manufactures rigid foam board insulation designed to deliver consistent thickness, predictable thermal resistance, and reliable integration with common wall assemblies. The product line supports continuous exterior insulation layouts, taped-seam continuity, and coordination with typical cladding attachment systems. Contact us today for more information.
Yes. Rigid insulation is widely used in walls because it supports continuous coverage that reduces thermal bridging through framing.
Boards are installed over wall sheathing, seams are sealed, and cladding is attached using fastening methods matched to thickness and load requirements.
Costs vary by board type, thickness, wall complexity, and labor rates, with exterior retrofit installations typically requiring more labor than new construction.
Every foundation interacts with temperature, moisture, and soil movement. When frost drives deep into the ground, expanding water lifts the structure above, an effect known as frost heave. Frost-protected shallow foundations (FPSF) avoid that risk by using continuous energy efficient insulation around and beneath the slab to stabilize soil temperature and prevent movement.
Every building loses energy somewhere. Heat moves through framing, ceilings, and joints faster than most owners realize, driving up utility costs and carbon emissions. Installing energy efficient insulation is the single most effective way to control that loss, and in practical terms, it’s where measurable savings start.
Every building envelope leaks under pressure. When those boundaries allow uncontrolled airflow, efficiency, comfort, and durability all decline. Properly air sealing exterior walls prevents air movement through framing joints, penetrations, and sheathing seams—issues that otherwise lead to energy loss and hidden moisture damage
Every exterior wall protects a structure from the elements and prevents fire from spreading between buildings. The International Building Code (IBC) defines the fire rated wall requirements that specify the duration of fire resistance, minimum property-line distance, and limits on openings. Understanding these parameters helps ensure the building envelope remains safe, efficient, and inspection-ready.
An exterior wall’s rating measures how long it can resist heat, flame, and structural failure—typically one to four hours depending on construction type and distance from adjacent property.
Fire resistance is verified through ASTM E119 or UL 263 (IBC §703.2), both of which establish how assemblies are tested for structural endurance, temperature rise, and flame passage. Section 705 connects that performance rating to fire-separation distance (FSD)—the space between an exterior wall and the nearest lot line, public way, or another building. The smaller the distance, the higher the required protection (§705.5). These core definitions establish the foundation for all fire rated wall requirements in the IBC.
The IBC framework establishes how construction type and occupancy group determine each building’s required fire-resistance performance before the wall rating tables come into play.
The IBC first classifies a building by construction type and occupancy group before assigning minimum fire-resistance ratings. Types I and II use non-combustible materials such as concrete and steel, while Types III–V allow controlled amounts of combustibles. Occupancy groups—Assembly, Business, Educational, Industrial, Mercantile, Residential, Storage, and Utility—define how spaces are used and the associated risk.
Table 601 lists required ratings for structural elements, and Table 602 applies those principles to exterior walls, assigning hourly ratings based on fire-separation distance and exposure side. Together, they define the baseline fire rated wall requirements that determine how each wall must perform under fire exposure.
The fire-separation distance (FSD) determines how an exterior wall must perform when exposed to potential fire from a neighboring structure. It’s measured perpendicularly from the wall’s exterior face to the nearest property line, public way, or imaginary lot line separating buildings on the same site (IBC §202).
FSD at a glance:
10 ft or less → Wall must resist fire from both sides
Greater than 10 ft → Exposure from interior side only (§705.5)
Walls located within 10 ft (3 048 mm) of a property line fall into the high-risk zone for radiant heat and flame contact and must be rated for two-sided exposure. Beyond 10 ft, only the interior side is evaluated. Identifying this threshold during design allows teams to plan setbacks, glazing, and insulation early while staying within the IBC’s fire rated wall requirements.
Once the fire-separation distance is determined, the next step is to verify the required hourly rating using the IBC reference tables. These tables define minimum performance expectations for both structural and exterior-wall assemblies.
Table 601 establishes ratings for the building’s primary structural frame, while Table 602 applies those requirements to exterior walls based on construction type and fire-separation distance. In a typical Type IIA business occupancy, a non-bearing exterior wall may require a one-hour rating when the fire-separation distance is 30 ft (≈ 9 m) or more, but two hours when it’s less than 30 ft.
The exact value depends on occupancy, construction type, and any local amendments, so the project’s jurisdictional Table 602 must always be consulted. Each component—structure, insulation, joints, and fasteners—must achieve the required rating within a tested ASTM E119 or UL 263 assembly. Confirming that alignment during design simplifies plan review and prevents rework later.
IBC §705.8 limits unprotected and protected openings—windows, doors, and vents—based on fire-separation distance and sprinkler coverage. At 3 ft (≈ 0.9 m), unprotected glazing is typically prohibited; at 15 ft (≈ 4.6 m), larger protected windows are often permitted within limits.
Only NFPA 13 sprinkler systems (per §903.3.1.1) qualify for opening-area increases—NFPA 13R systems do not. These distinctions affect façade layout and must be confirmed early in design to avoid conflicts between architectural intent and fire-protection strategy. Final allowable opening percentages must always be verified directly in Table 705.8. Coordinating closely with fire-protection engineers ensures glazing and insulation details align with both Table 705.8 and the project’s overall fire rated wall requirements.
Even when wall materials meet fire-resistance standards, the performance of the entire assembly depends on how every joint, fastener, and penetration is detailed and sealed during construction.
IBC §§714 and 715 require each joint and penetration to maintain the tested fire-resistance rating through the wall’s full thickness. Fire-resistive joint systems prevent heat and flame from traveling through movement joints, while approved fire-stopping materials close gaps around pipes, conduits, and ducts.
These systems are tested under ASTM E1966 / UL 2079 for joints and ASTM E814 / UL 1479 for penetrations. Substituting or omitting any listed component can void the rating and trigger rework. Consistent coordination between designers, contractors, and inspectors ensures that every layer—from sheathing and insulation to sealant—matches its tested listing and that the wall functions as a complete, code-compliant fire barrier.
Adequate Separation (20 ft) – A Type IIA office wall 20 ft from the lot line typically requires a one-hour interior-side rating (§705.5). Glazing may be generous if it meets Table 705.8 limits.
Reduced Separation (8 ft) – At 8 ft, exposure applies to both sides, requiring a two-hour rating. Unprotected windows are prohibited unless tested as protected assemblies (§705.8.2).
These examples illustrate how small distance changes can alter required fire resistance under IBC fire rated wall requirements.

Exterior wall design must balance structural integrity, energy efficiency, and fire safety. High-performance polyisocyanurate (polyiso) insulation supports all three by delivering high R-value per inch within assemblies that have been tested for fire exposure.
Polyiso combines high thermal resistance with proven fire performance, allowing it to serve as both insulation and part of a rated barrier system. Its closed-cell structure limits flame spread and smoke development, helping assemblies meet the hourly ratings established in IBC Tables 601 and 602. When integrated into a listed design, it supports continuous insulation without compromising fire-resistance or moisture management.
Under the 2021 IBC, exterior wall assemblies in Types I–IV construction that include combustible components—such as cladding, air barriers, or foam plastics—must comply with NFPA 285 (§2603.5.5; Chapters 14 and 26). NFPA 285 measures flame spread and heat propagation within full-scale wall assemblies. Using polyiso insulation listed within an NFPA 285-tested design satisfies these requirements while preserving the wall’s rating from Table 602.
Rmax polyiso insulation is tested within compliant assemblies that meet these fire-propagation limits while maintaining high thermal efficiency. When installed as part of a tested configuration, continuous polyiso insulation supports IECC energy goals and the IBC’s fire rated wall requirements simultaneously, linking thermal and fire performance in one code-compliant system.
Even the best wall design can fail inspection if documentation and installation don’t match the tested configuration. Every rated exterior-wall assembly must be verified, referenced, and recorded from design through completion to confirm full code compliance.
Accurate documentation begins with submittals that cite the UL design number or ASTM E119 / UL 263 assembly establishing the wall’s fire-resistance rating (IBC §703.2, §703.2.2). Each layer—sheathing, insulation, joints, and fasteners—must correspond to that tested configuration.
If openings or penetrations are relocated, the design team must re-evaluate the assembly under the same test standard to confirm the rating still holds.
Surface coatings or patch materials cannot establish or restore a tested rating under §703.2—only approved fire-stop systems can.
Thorough recordkeeping, photographic documentation, and pre-closeout verification help plan reviewers and inspectors confirm that every wall performs exactly as tested, minimizing delays during final approval.
Energy and fire performance work together. Continuous insulation required by the IECC and ASHRAE 90.1 must also meet the IBC’s fire rated wall requirements.
Coordinating both objectives within a single tested assembly avoids conflicts between thermal targets and fire-safety obligations. Polyiso provides exceptional thermal resistance while maintaining proven fire performance, enabling design teams to achieve energy efficiency and code compliance simultaneously. When these requirements are addressed through a unified assembly approach, the wall system maintains both thermal continuity and fire integrity throughout the building envelope.
Identify construction type and occupancy (Tables 601 & 602).
Measure FSD (§202).
Determine exposure side(s) (§705.5).
Apply Tables 601 & 602 for required rating.
Verify openings (Table 705.8).
Select UL / ASTM-listed assemblies meeting fire + energy criteria.
Document listings and inspection records.
Following these steps provides traceable compliance and minimizes redesign delays.
Rmax engineers and manufactures polyiso insulation systems tested for rated exterior-wall assemblies. Each solution is evaluated for fire resistance, moisture protection, and thermal performance to meet modern code requirements. Contact our technical team today for project-specific guidance and tested-assembly documentation.