

How well is your building sealed? If you can feel drafts through your walls and around windows or other openings, then your building envelope may be lacking in this area. The culprit? Your building’s outside wall insulation installation method used during initial construction may be to blame. Building insulation performs best when it is continuously sealed.
In this resource, you will learn several tips and tricks to optimize your wall insulation installation techniques to achieve enhanced thermal and moisture performance inside your building envelope.
Why Choose Rigid Insulation Installation for Exterior Walls?
Rigid insulation is a popular choice for exterior walls. There are many advantages to choosing rigid foam insulation, such as polyiso, for your walls—including:
High R-Value per inch
Not limited by 2x4 framing thickness
Provides a flat, smooth surface for exterior finishes
Efficient installation with modular board sizes
No mess during or after installation
How to Install Rigid Wall Insulation on External Walls

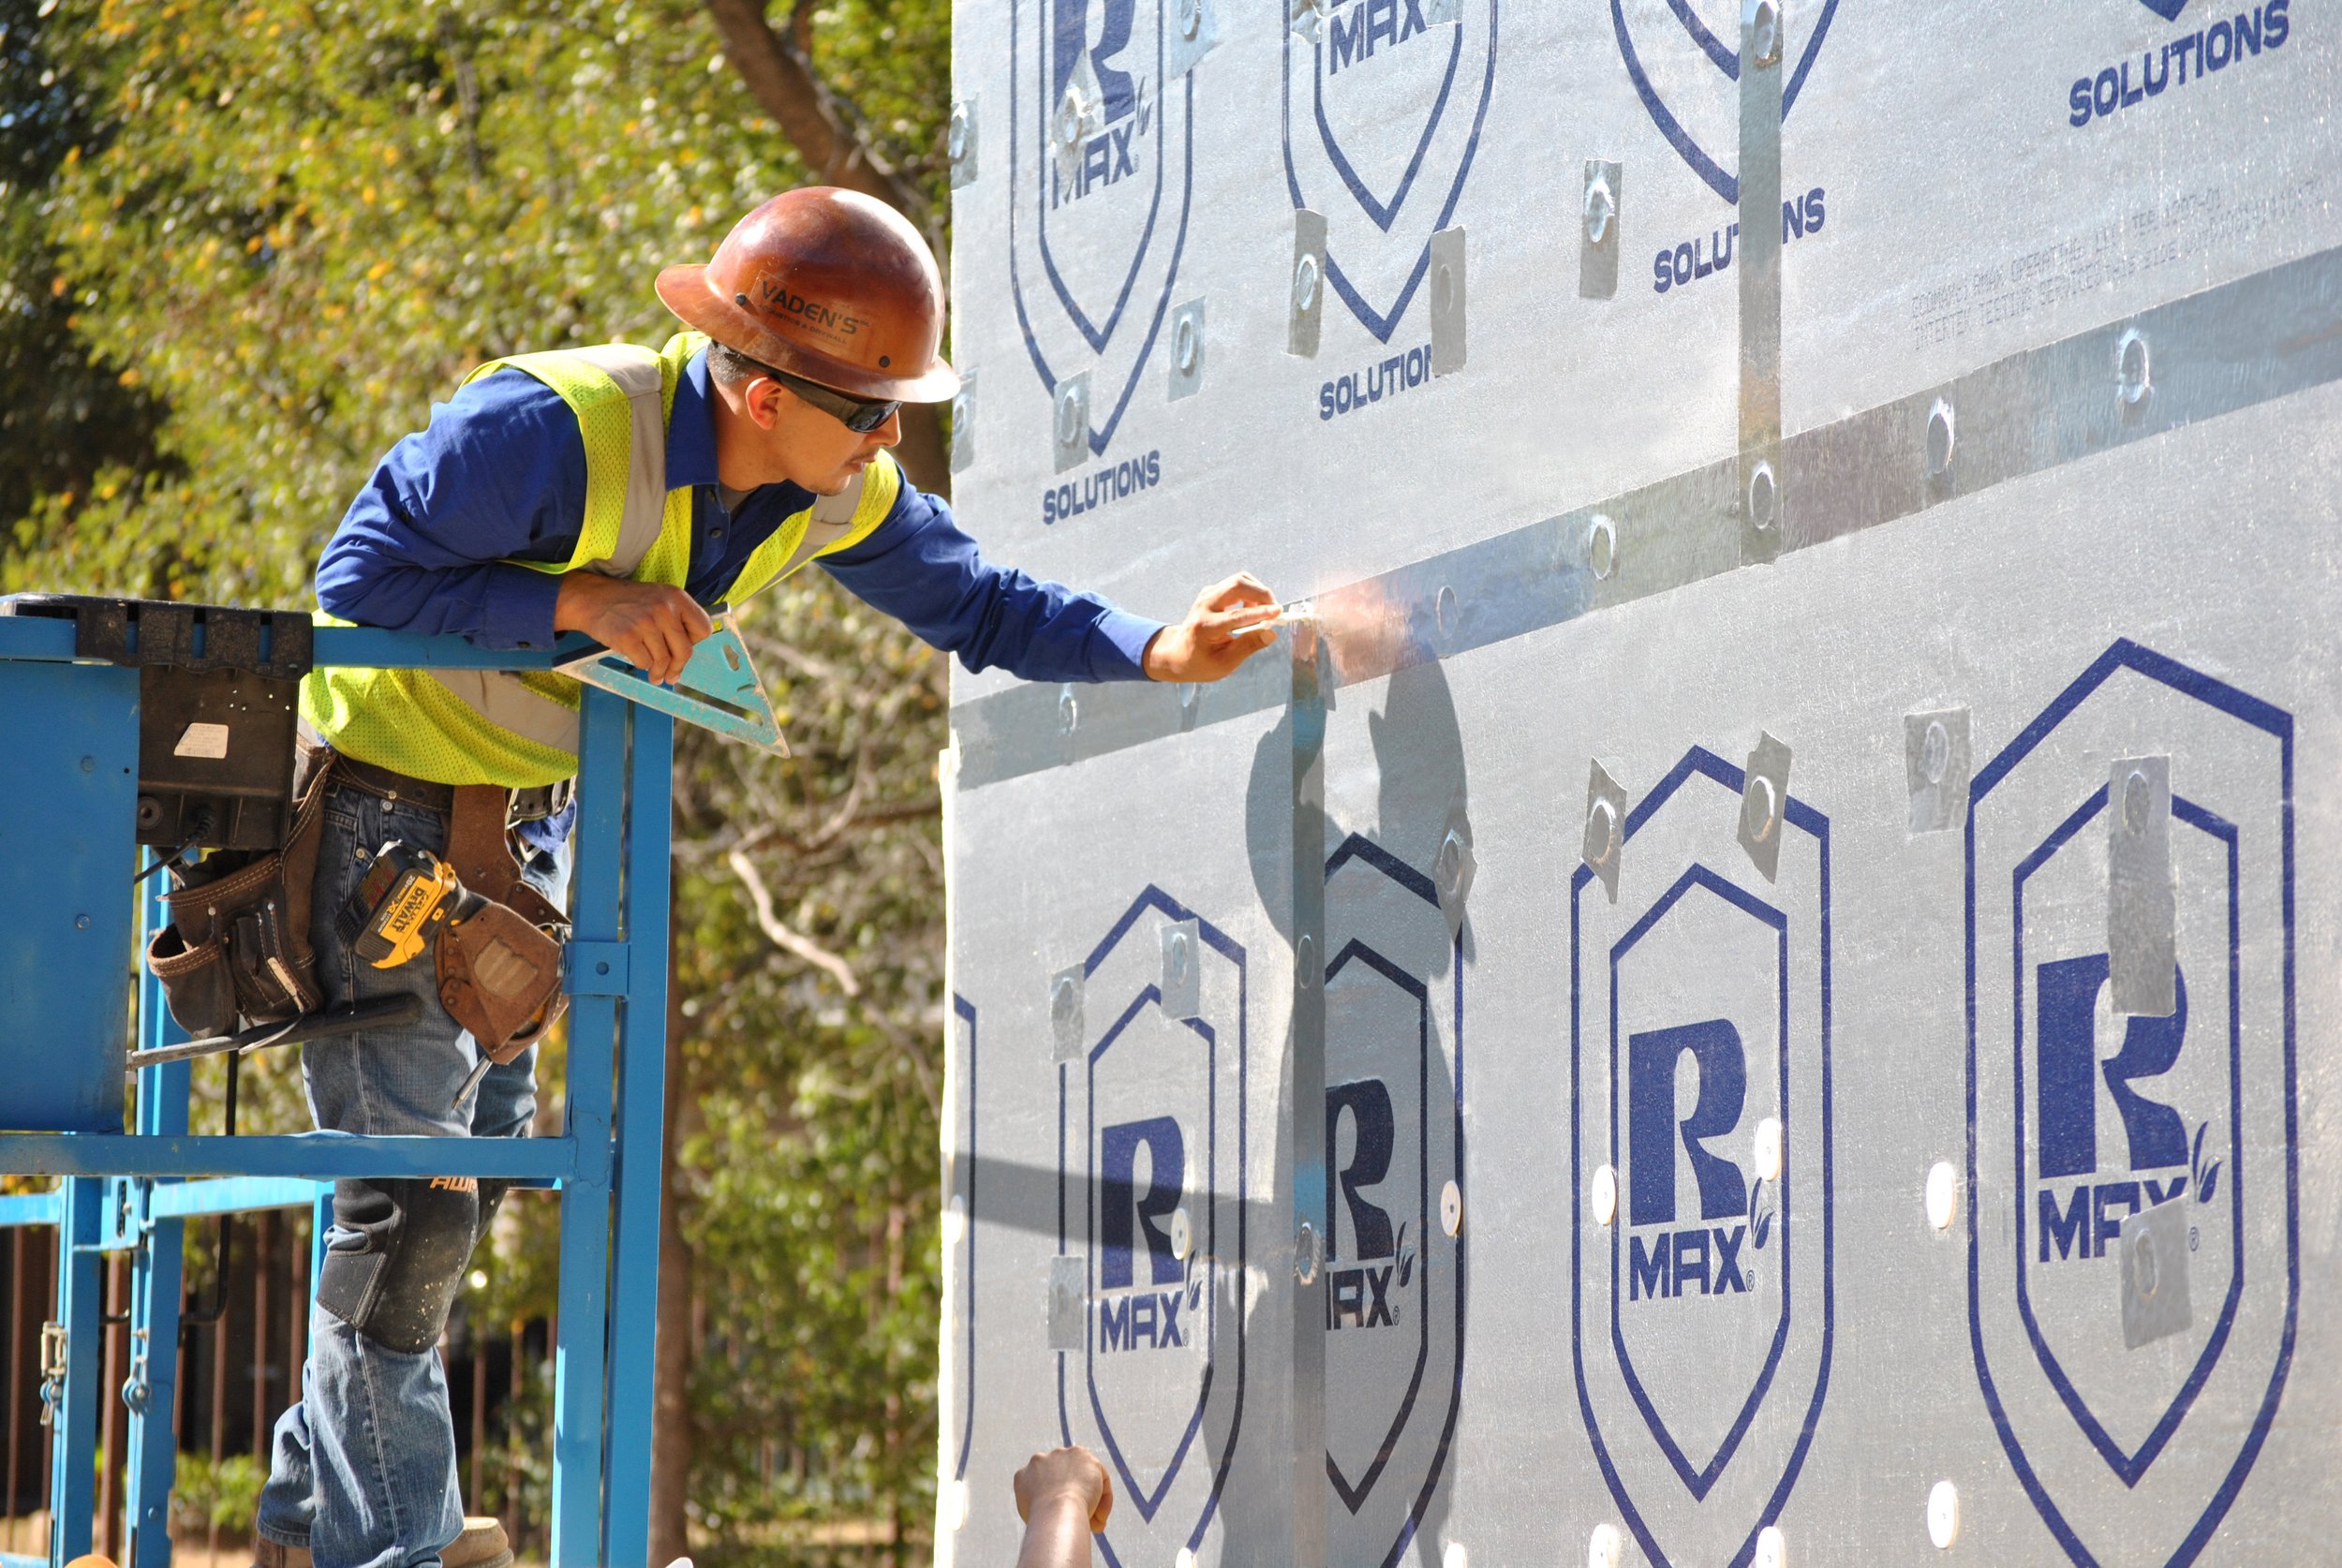
Let’s cover a quick how-to guide on installing polyiso insulation on exterior walls. For this example, we’ll show you how to install Rmax Durasheath® building envelope insulation. This is a closed-cell polyiso foam core with non-metallic, coated glass fiber mat facers.
In a residential application, wall insulation installation usually occurs with fiberglass batts between wood stud walls. However, the thickness of this cavity space can limit the insulating power. That’s why some homeowners choose to add continuous insulation to the outside surface of the studs. Adding just one inch of polyiso can add R6 to the thermal resistance.
To install rigid insulation on the external walls of a home:
Place the modular 4’x8’ boards either horizontally or vertically butted against each other.
Align vertical joints with structural backing and fasten with at least eight screws and washers per board into studs or structural sheathing (such as plywood).
Continue with an air barrier and/or exterior finish
This particular product does not require joint taping, but it can be installed if desired.
Pro Tips for Sealing Insulation on Wall Installations
Although not all rigid wall insulation requires sealing, doing so can fortify your structure and significantly decrease heat loss, air leaks, and moisture intrusion. If you’re already installing continuous insulation, why not go the extra mile and seal it up?
If you decide to seal your joints, we’ll cover the tools you’ll need for installations like the ECOMAXci® Wall Solution, which performs as both the air barrier and continuous insulation. With this application, you’ll seal all the joints between boards (vertical and horizontal) with either tape or liquid flashing, and you’ll detail any penetrations like windows or pipes with 35 mil polyethylene butyl tape.
Tools Required for Wall Insulation Installation
ECOMAXci® can be installed in two ways, either by taping joints or using liquid flashing.
Here are the tools needed for each method:
For Pressure-Sensitive Tapes
Utility Knife
Measuring Tape
Insulation Knife
Rubber Hand Roller
Cordless Impact Driver
Additional Tools For Liquid Flashing Details
Plastic Putty Knife
Wet film Thickness Gauge
Caulk Gun
Spatula
Once you’ve got your tools, you’ll also need to have the right building materials. Besides your insulation, you’ll need plenty of fasteners, washers, tapes, and sealant on the jobsite.
Materials Used by Pros in Outside Wall Insulation Installation
Insulation Boards
CI Prong Washers for wood or metal studs/backing
Grip Deck Self-Drilling Screws or other appropriate anchors
R-seal 3000 (joint tape) or R-seal 2000LF (liquid flashing)
R-seal 6000 (for windows/penetrations)
Choosing the right materials for the job is one way you can optimize your installation. Since there are various types of fasteners, tapes, and accessories available, check with your Rmax representative to recommend which product is best for your project’s application.
Tips for Reducing Wall Insulation Installation Costs
Here are a few pointers to get you started on the right track:
Watch Installation Videos
Watching the manufacturer’s installation videos is a great way to understand the process before you begin your external wall insulation installation. Find several installation videos from Rmax for their current products in their “Installation Guides and Videos” section online, including:
Installation for Rmax Liquid Flashing R-Seal 2000 LF
Installation for ECOMAXci® Wall Solution
Plan Your Layout Before You Begin
You can save a lot of time by investing a little up-front time planning before you begin the installation process. Some factors to consider before you start rigid insulation installation on exterior walls include:
Decide which fastener type to use with your wall.
Purchase a little more than you’ll need to account for waste (typically between 3-10%).
Study the manufacturer’s recommended fastening pattern to familiarize the layout.
Buy the correct length fasteners (1” penetration into your substrate).
Make a jig that helps you locate the studs more easily for fastening.
Decide whether you’ll lay your boards vertically or horizontally.
More Installation Tips
Finally, you’re ready to install, here are a few more pointers to help things move smoothly.
Keep cut boards so you can use them later in the installation when possible.
Do not countersink screw heads (keep flush).
Rmax Can Help Your Installation Run Smoothly
Rmax has worked with countless contractors during the installation process and is standing by in case you have any questions or need guidance during the process.
Contact your local Rmax representative today to start planning!